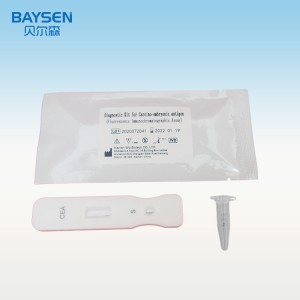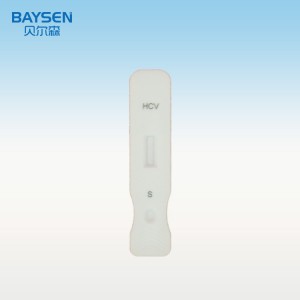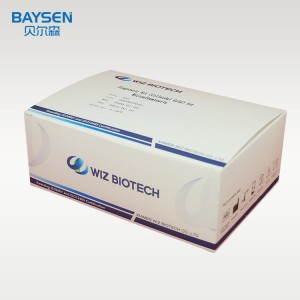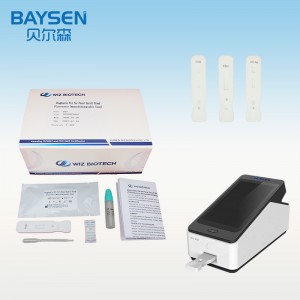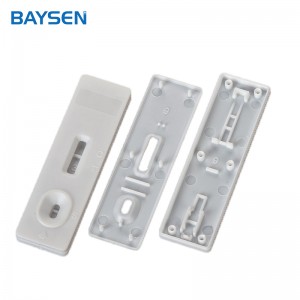
Hepatitis B surface Antigen HBSAG FIA Reagent Machine USE
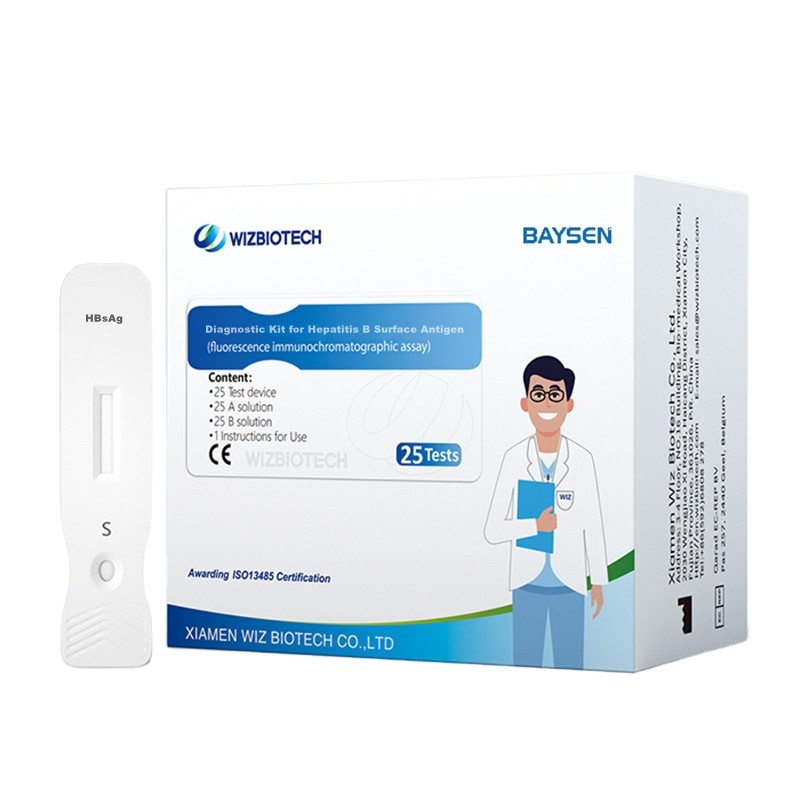
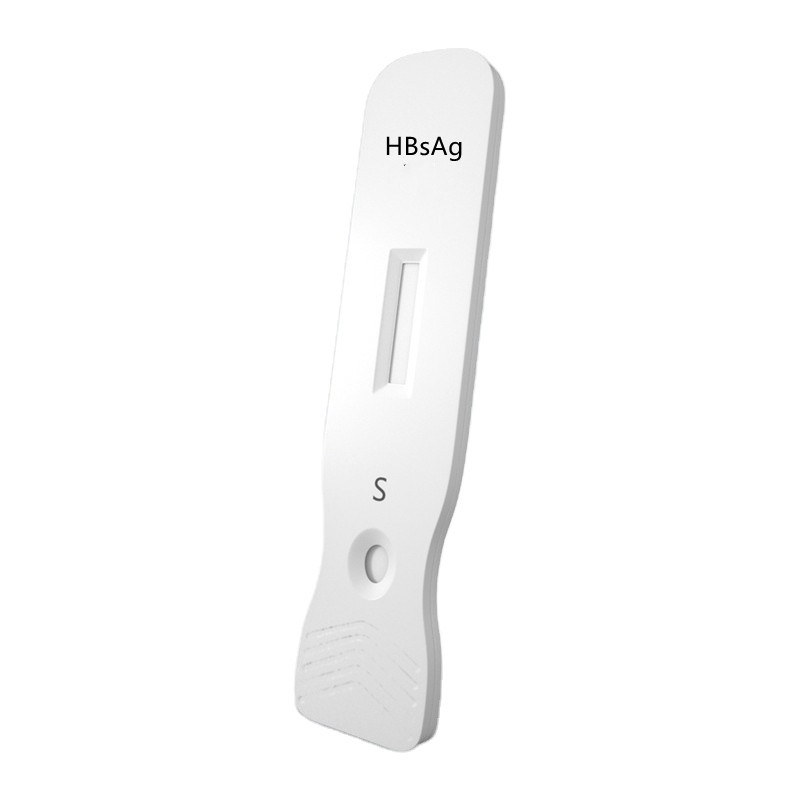
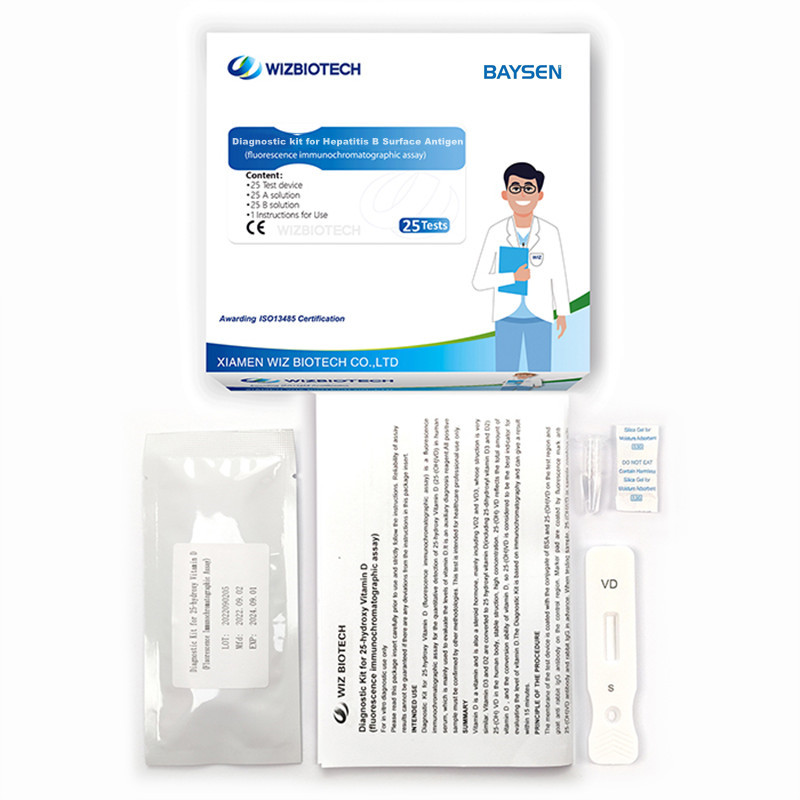
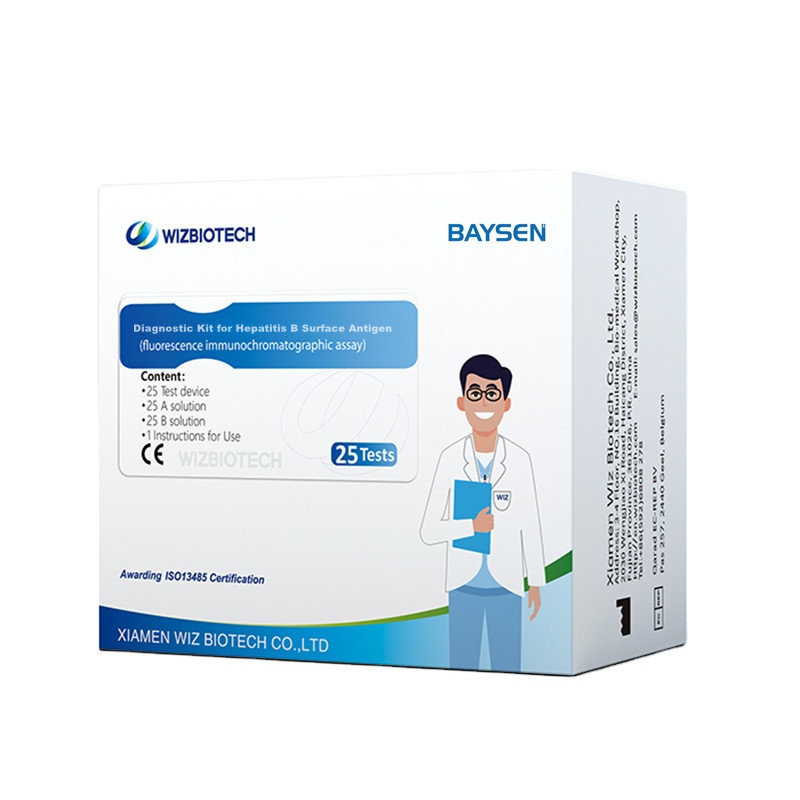
Diagnostic Kit for Hepatitis B surface Antigen
Methodology:Fluorescence Immunochromatographic Assay
Production information
| Model Number | Hbsag | Packing | 25 Tests/ kit, 30kits/CTN |
| Name | Diagnostic Kit for Folate | Instrument classification | Class II |
| Features | High sensitivity, Easy opeation | Certificate | CE/ ISO13485 |
| Accuracy | > 99% | Shelf life | Two Years |
| Methodology | Fluorescence Immunochromatographic Assay | OEM/ODM service | Avaliable |

Superiority
Testing time:10-15mins
Storage:2-30℃/36-86℉
Methodology:Fluorescence Immunochromatographic Assay
Feature:
• High sensitive
• result reading in 15 minutes
• Easy operation
• Use for WIZ-A101 and WIZ-A203
• High Accuracy

INTENDED USE
This kit is applicable to in vitro quantitative detection on the content of hepatitis B virus surface antigen in human serum/plasma samples as an aid in the diagnosis of hepatitis B virus infection(HBsAg). This kit provides only the results of the hepatitis B virus surface antigen test and the results obtained should be analyzed in conjunction with other clinical information.It is intended for use by medical professionals only
Test procedure
| 1 | Before using the reagent,read the package insert carefully and familiarize yourself with the operating procedures. |
| 2 | Select standard test mode of WIZ-A101/WIZ-A203 immune analyzer |
| 3 | Open the aluminum foil bag package of reagent and take out the test device. |
| 4 | Horizontally insert the test device into the slot of immune analyzer. |
| 5 | On home page of operation interface of immune analyzer, click “Standard” to enter test interface. |
| 6 | Click “QC Scan” to scan the QR code on inner side of the kit; input kit related parameters into instrument and select sample type. Note: Each batch number of the kit shall be scanned for one time. If the batch number has been scanned, then skip this step. |
| 7 | Check the consistency of “Product Name”, “Batch Number” etc. on test interface with information on the kit label. |
| 8 | After information consistency is confirmed, take out sample diluents, add 80µL of serum/plasma sample, and sufficiently mix |
| 9 | Add 80µL of above mixed solution into the sample hole of test device |
| 10 | After complete sample addition, click “Timing” and remaining test time will be automatically displayed on the interface. |
| 11 | Immune analyzer will automatically complete test and analysis when test time is reached. |
| 12 | After test by immune analyzer is completed, test result will be displayed on test interface or can be viewedthrough “History” on home page of operation interface. |
Note: each sample shall be pipetted by clean disposable pipette to avoid cross contamination.


You may also like: